Appearance
Skip to content To comply with the GDPR "right to be forgotten", we need to ensure that a deleted player stays deleted if you restore the game database from a backup. This page explains how to do that.
Key Concepts
- In the event that you need to restore from an old backup of the database, any players that were deleted since that backup was taken will also be restored. We will refer to this backup as the database snapshot in the rest of this document.
- Metaplay keeps a separate log of players that have been deleted. This file is called the delete log.
- We use the information in this log to "re-delete" players that have been restored in the database snapshot.
Process
Because this process is likely to be performed under stressful conditions, it has been designed as an easy-to-follow, step-by-step guide. The aim is to minimize the chance for error as well as to give you confidence along the way that you are doing the right thing.
INFO
If you ever need to restore from a backup then call us - we'll help.
The process is described in the following steps:
1. Restore Database Snapshot and restart the server
Database operations are covered in Database Infrastructure Operations.
2. Locate the Delete Log File
Your database snapshots will be found in AWS S3. Snapshots are taken daily by default and they will be stored in a hierarchical folder structure from year/month/day. You will first need to locate the backup files for your game's deployment in S3, and then you should navigate to the most recent snapshot.
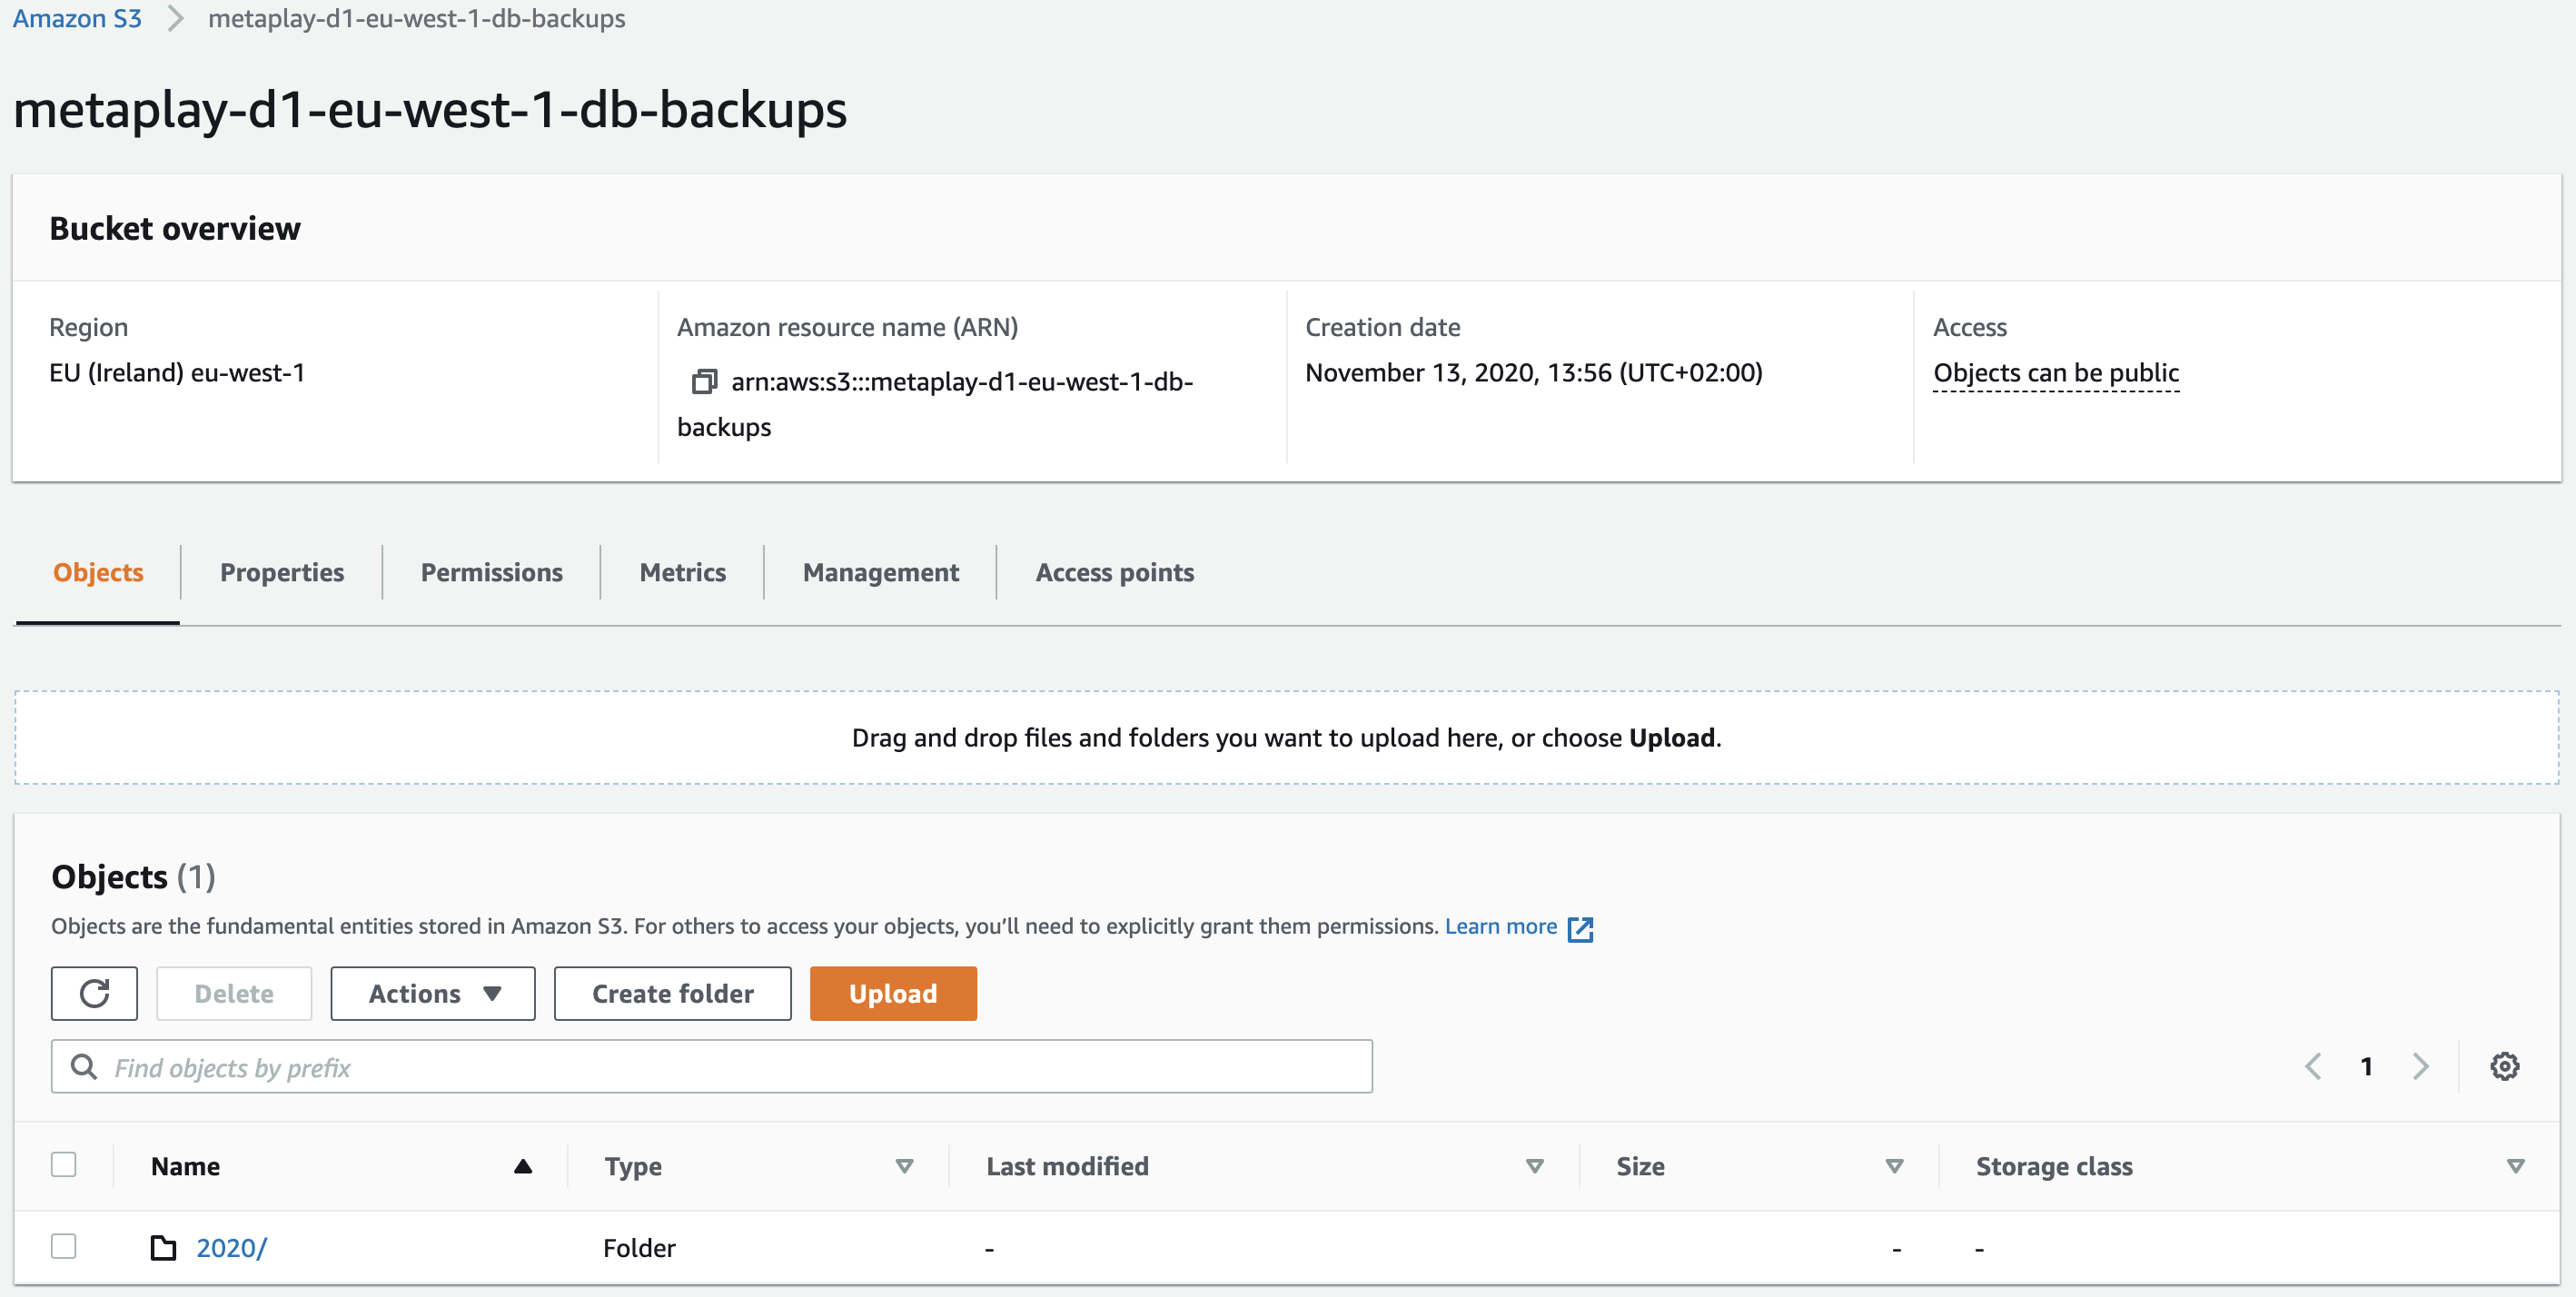
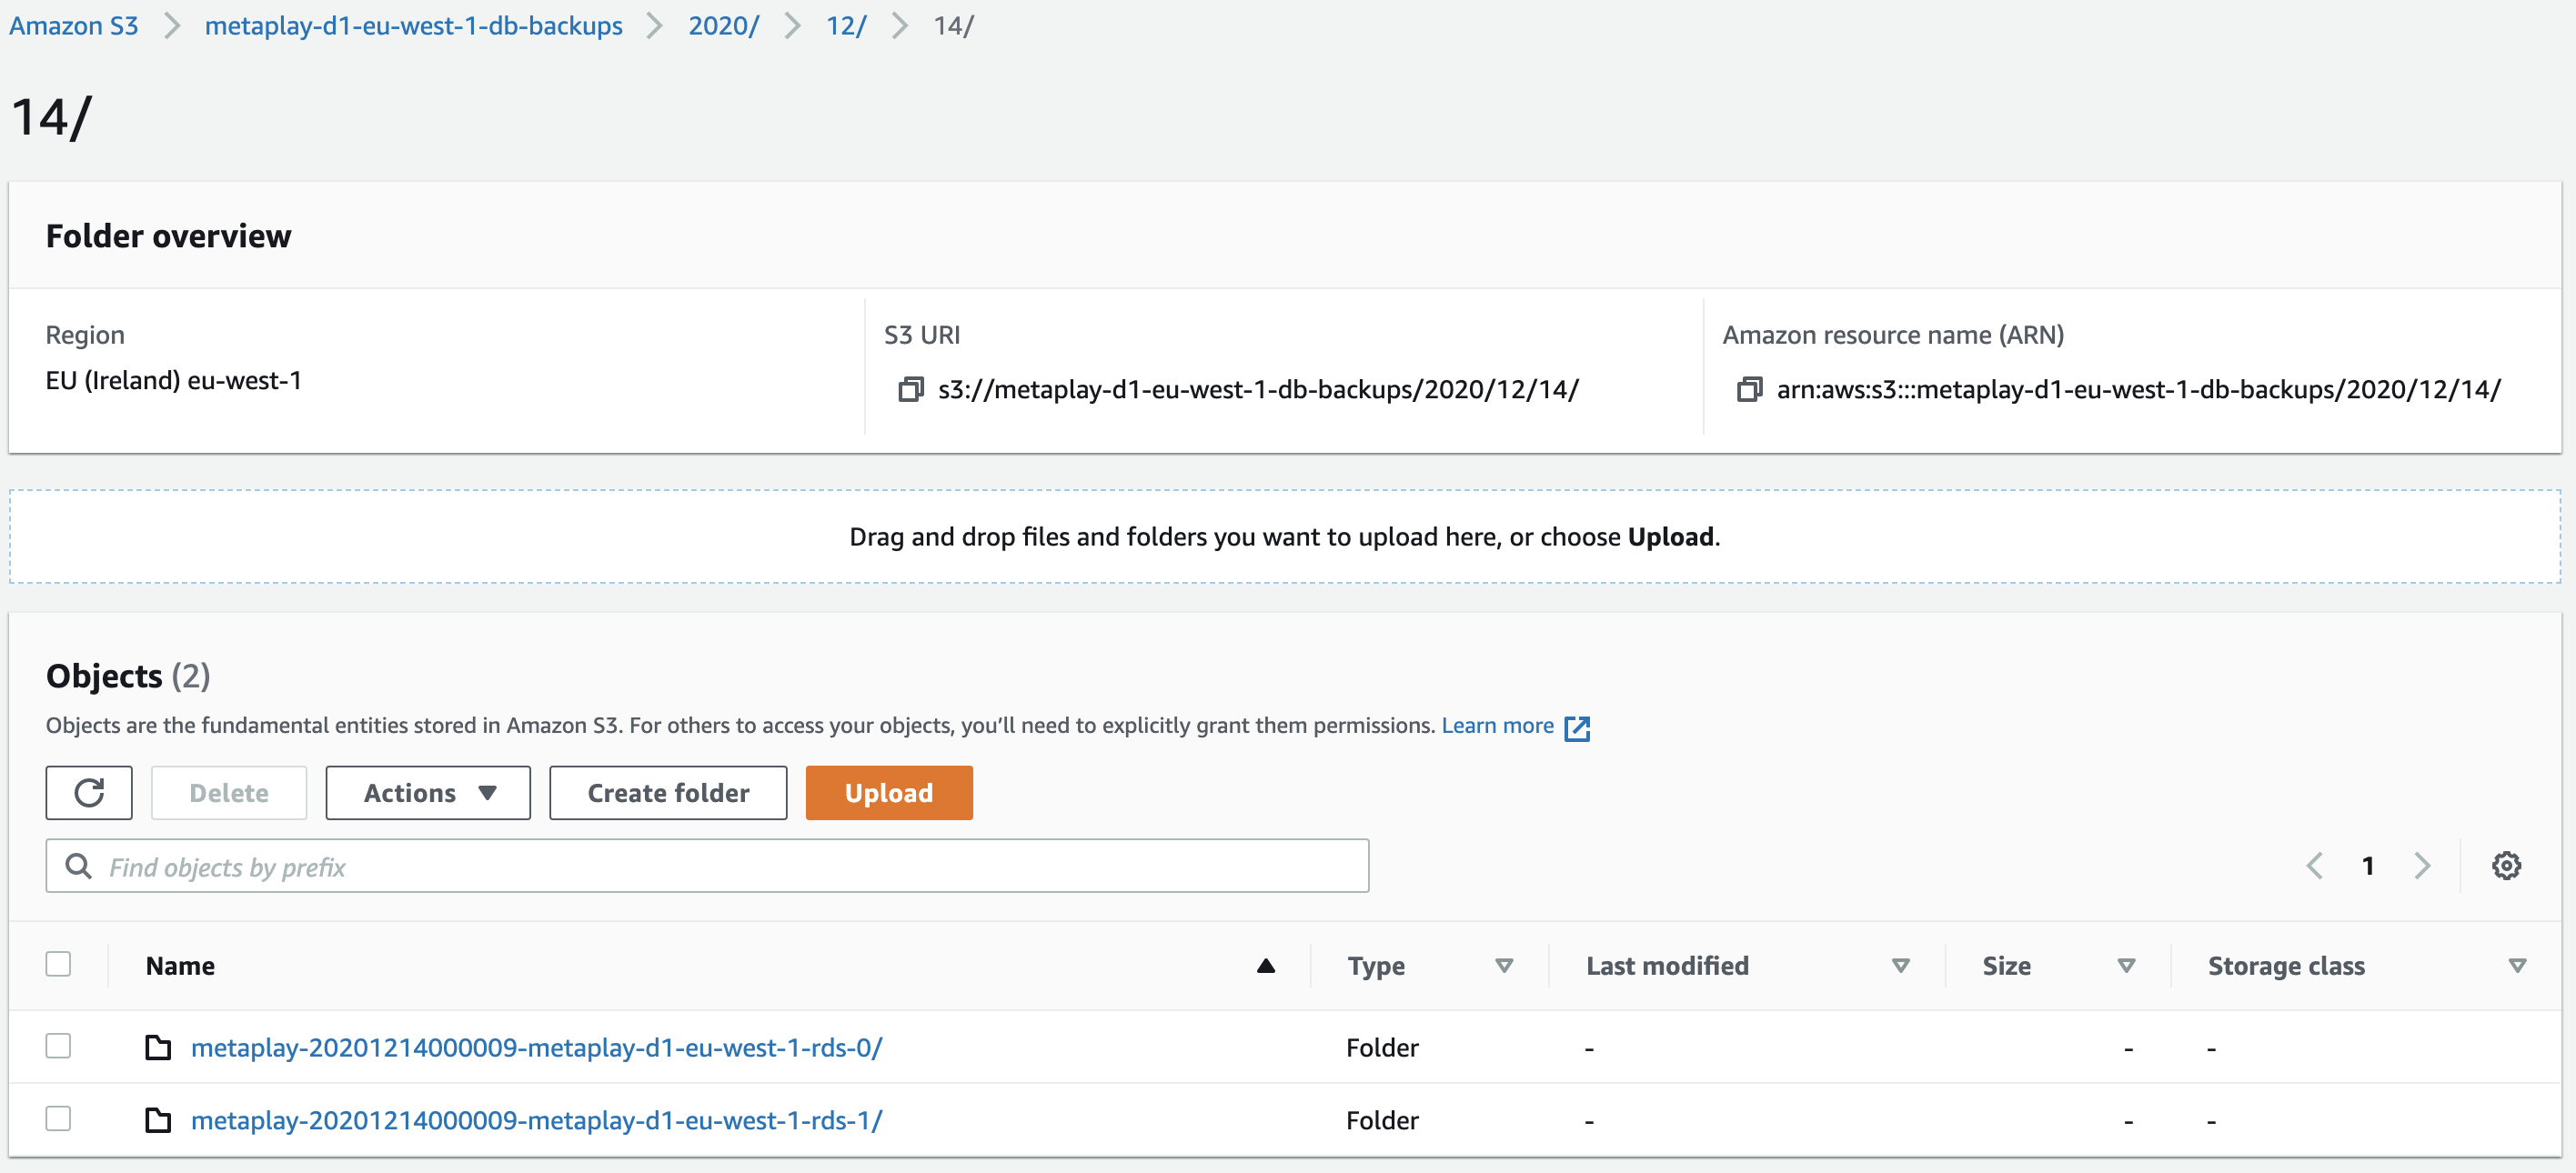
Your game will most likely be using a sharded database setup, in which case you will see two or more folders for each set of snapshots - one per shard. The delete log snapshot is always located on the first shard, named rds-0. Inside that folder, you'll see some JSON status files and another folder. This folder contains a folder for each snapshot - this means that there will be one folder for each database table that was backed up.

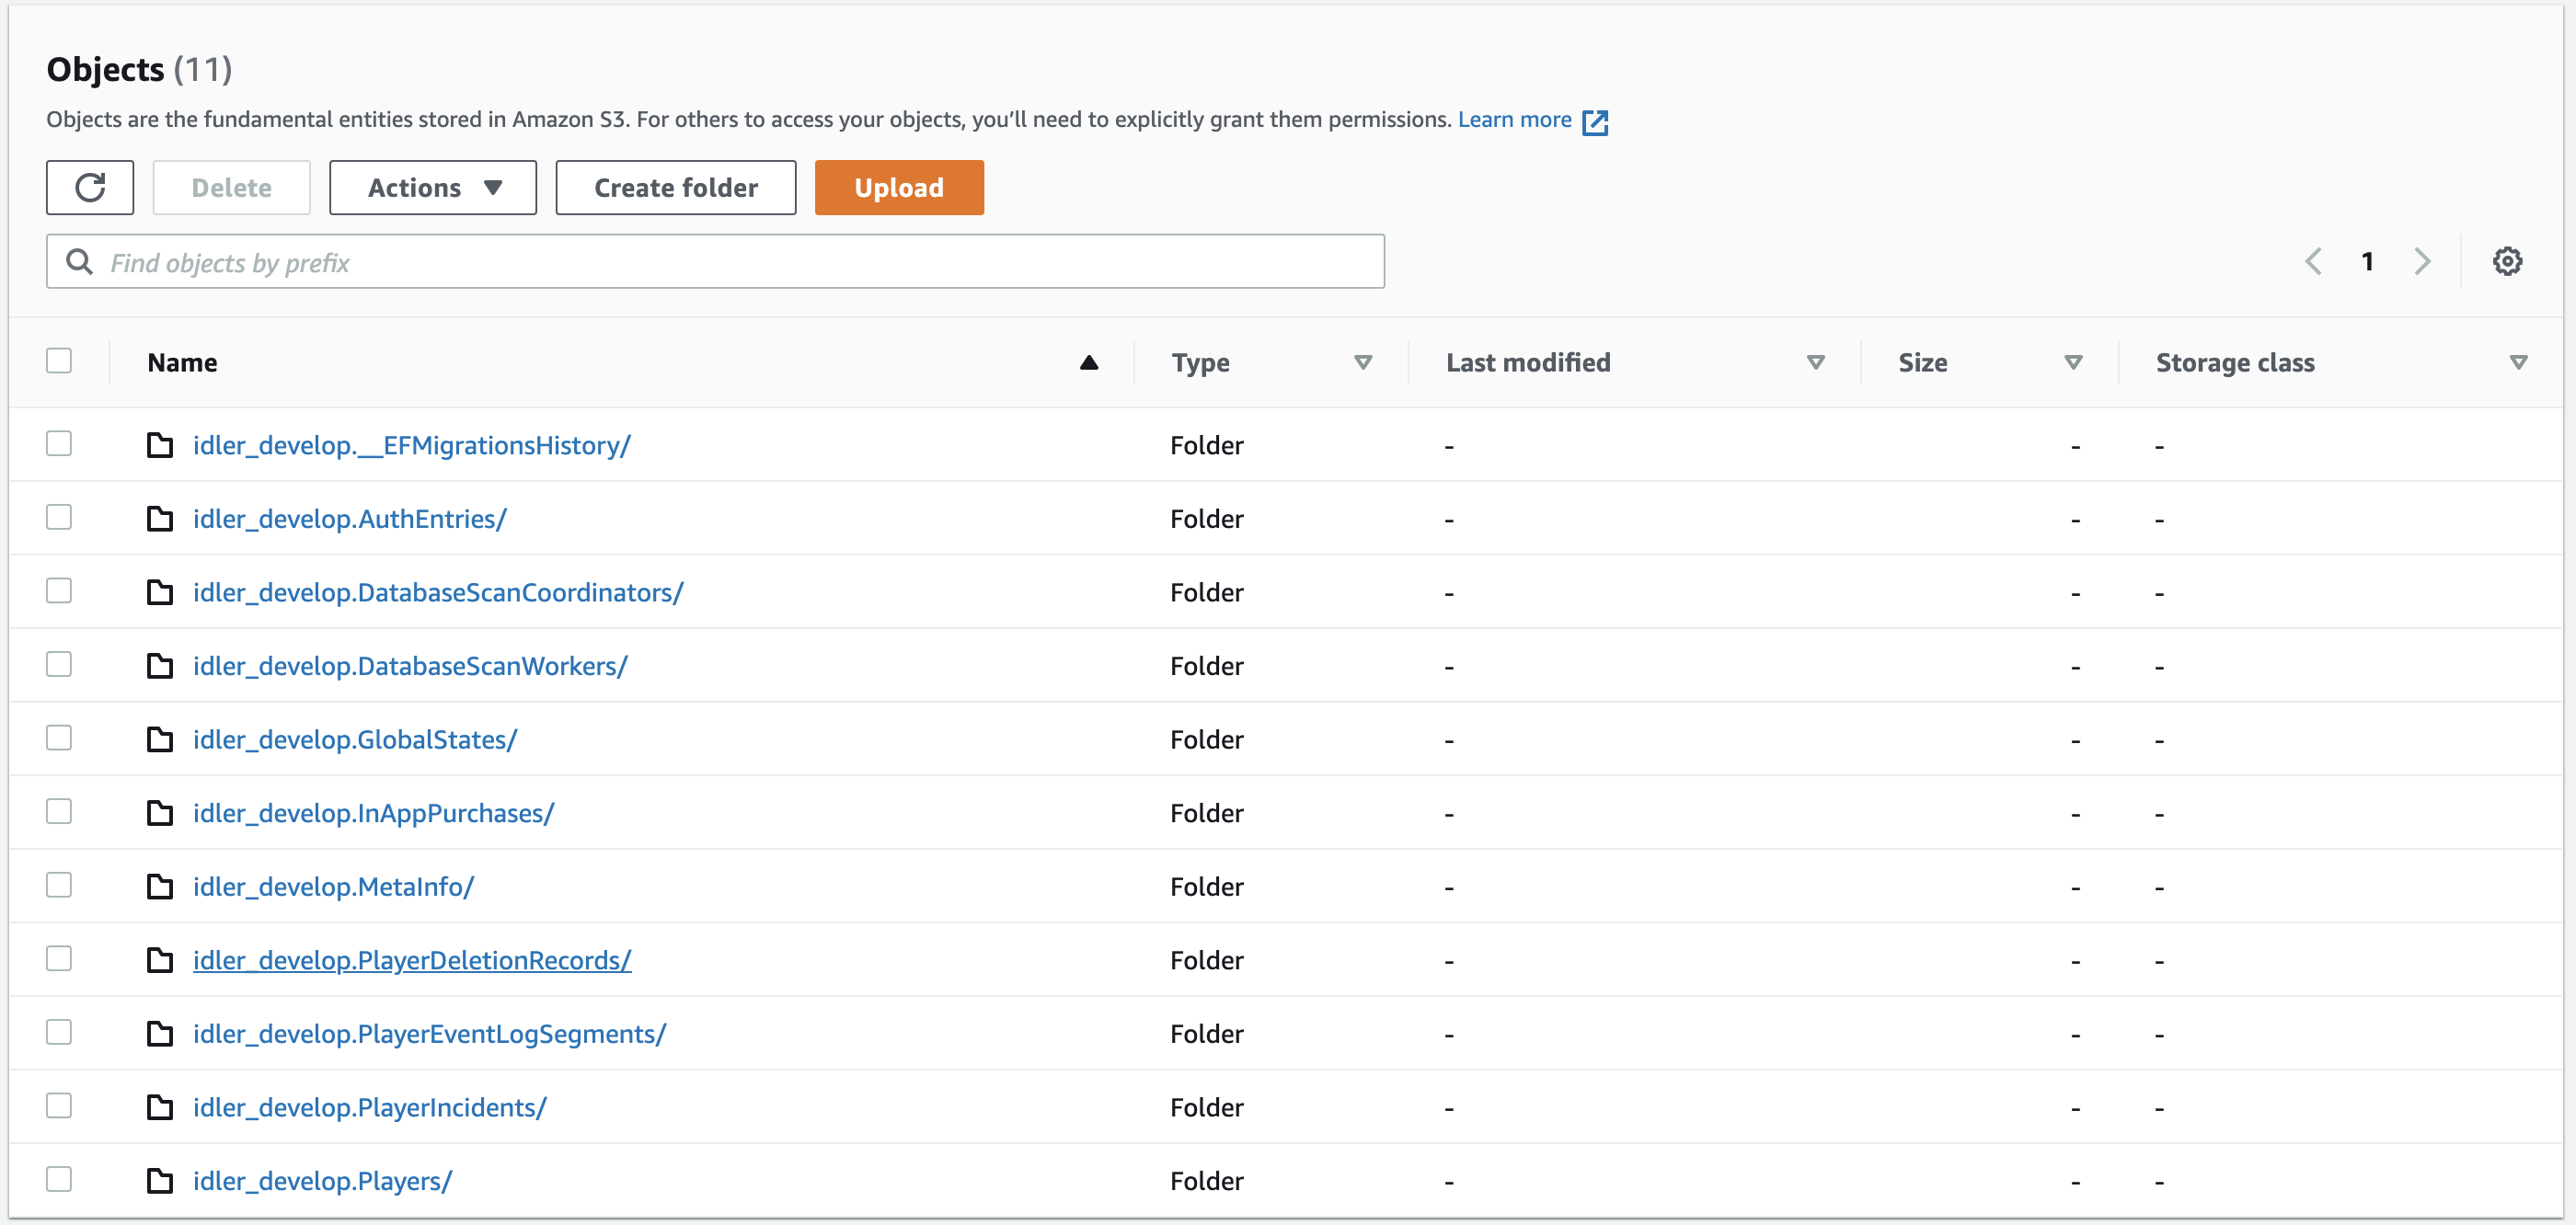
The database table for the delete log is called PlayerDeletionRecords, so click on that folder to see the snapshot. Inside, along with the snapshot file (which has the .gz.parquet extension), you should see a 0 byte file called _SUCCESS. The existence of this file indicates that the snapshot was taken successfully. If you don't see this file then you'll want to search backward to find the most recent snapshot that did succeed.
 Download the snapshot file (click on the filename and then chose
 Download from the Object actions list on the page that opens) and keep it handy for step 4.
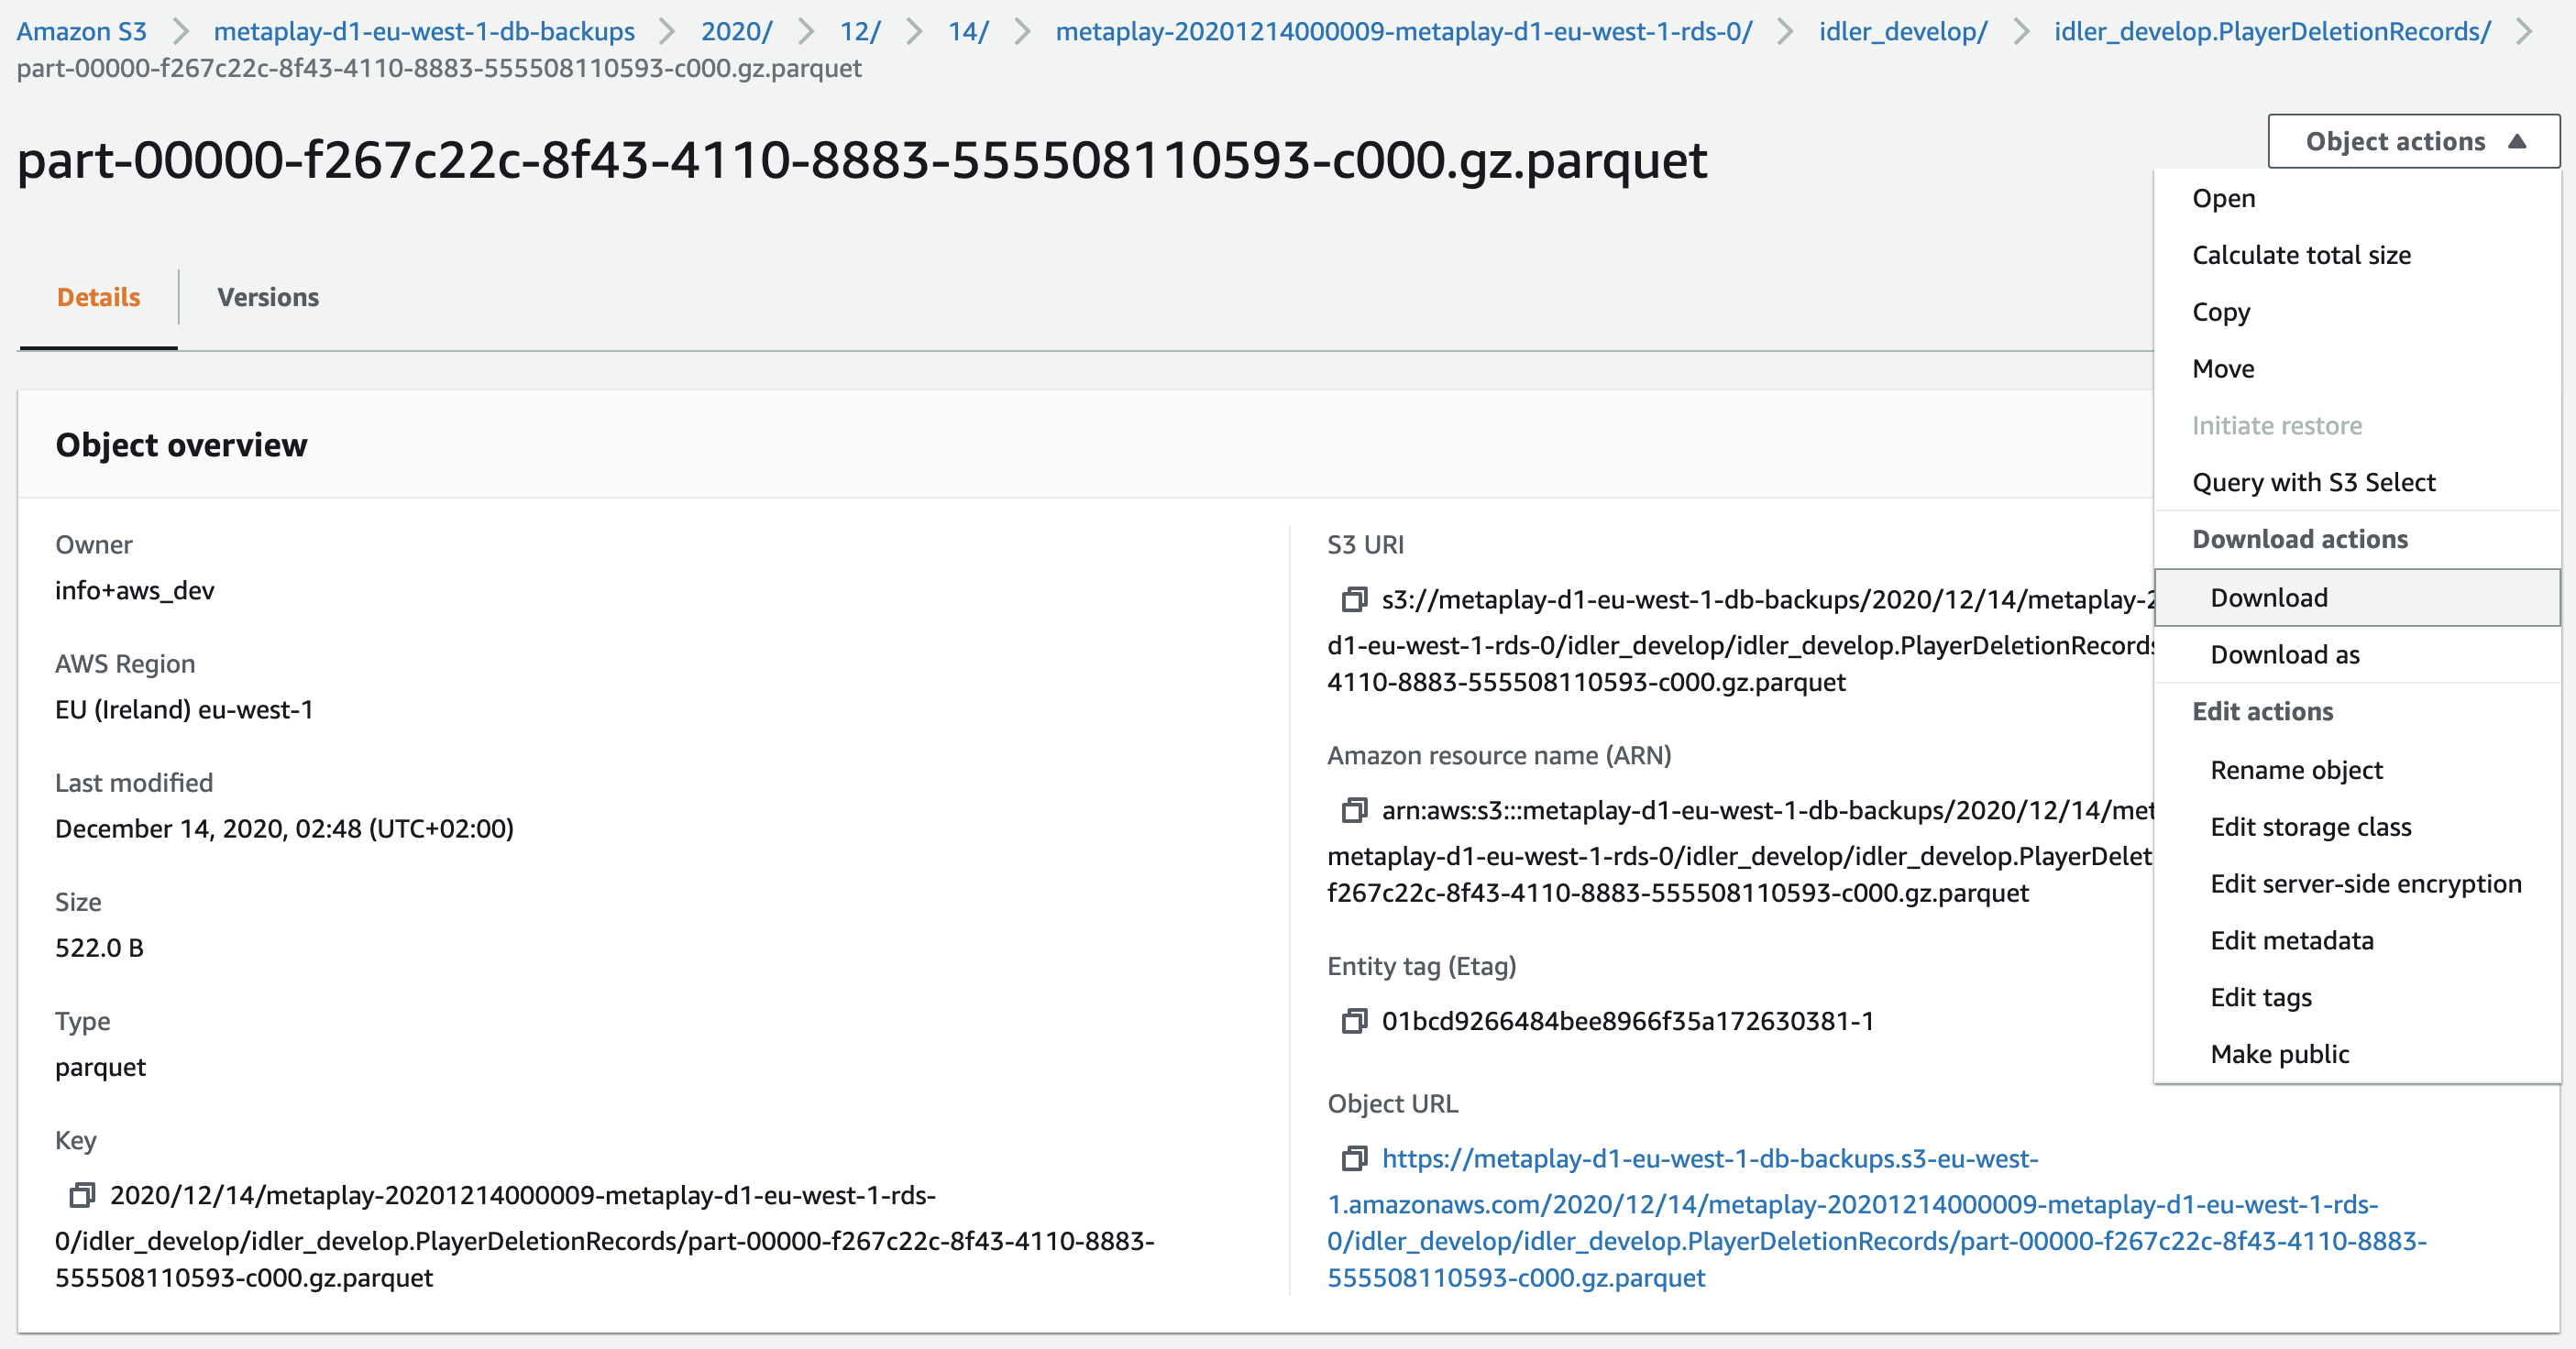
This guide makes the assumption that you're using AWS and storing your database snapshots as Parquet files in S3 as this is the workflow that Metaplay recommends. Talk to us if you're doing something different.
3. Open the Re-Delete Players menu
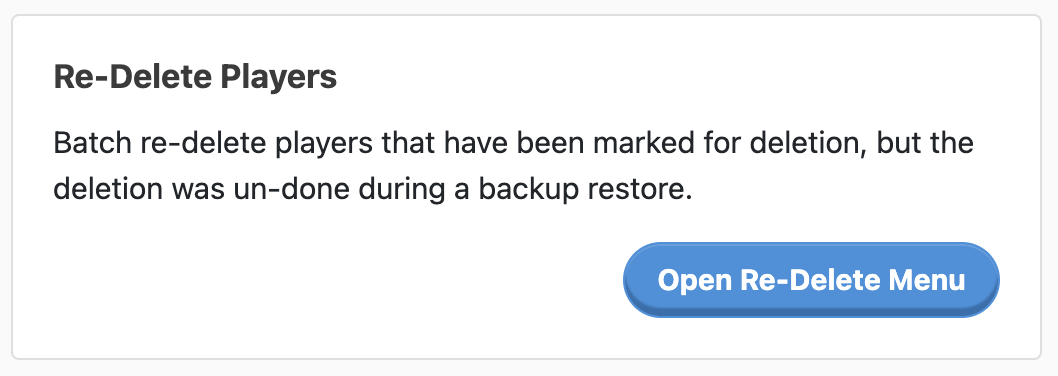
Navigate to the "manage deployment" page in the LiveOps Dashboard and then choose "open re-delete menu".
4. Upload Configuration
In the menu that you just opened, you'll need to enter your configuration details on the left. First, locate (or drag and drop) the delete log file that you downloaded in step 2 into the Log File field. Next, enter the time and date of the database snapshot that you are rolling back to into the Re-Delete Cutoff Time field.
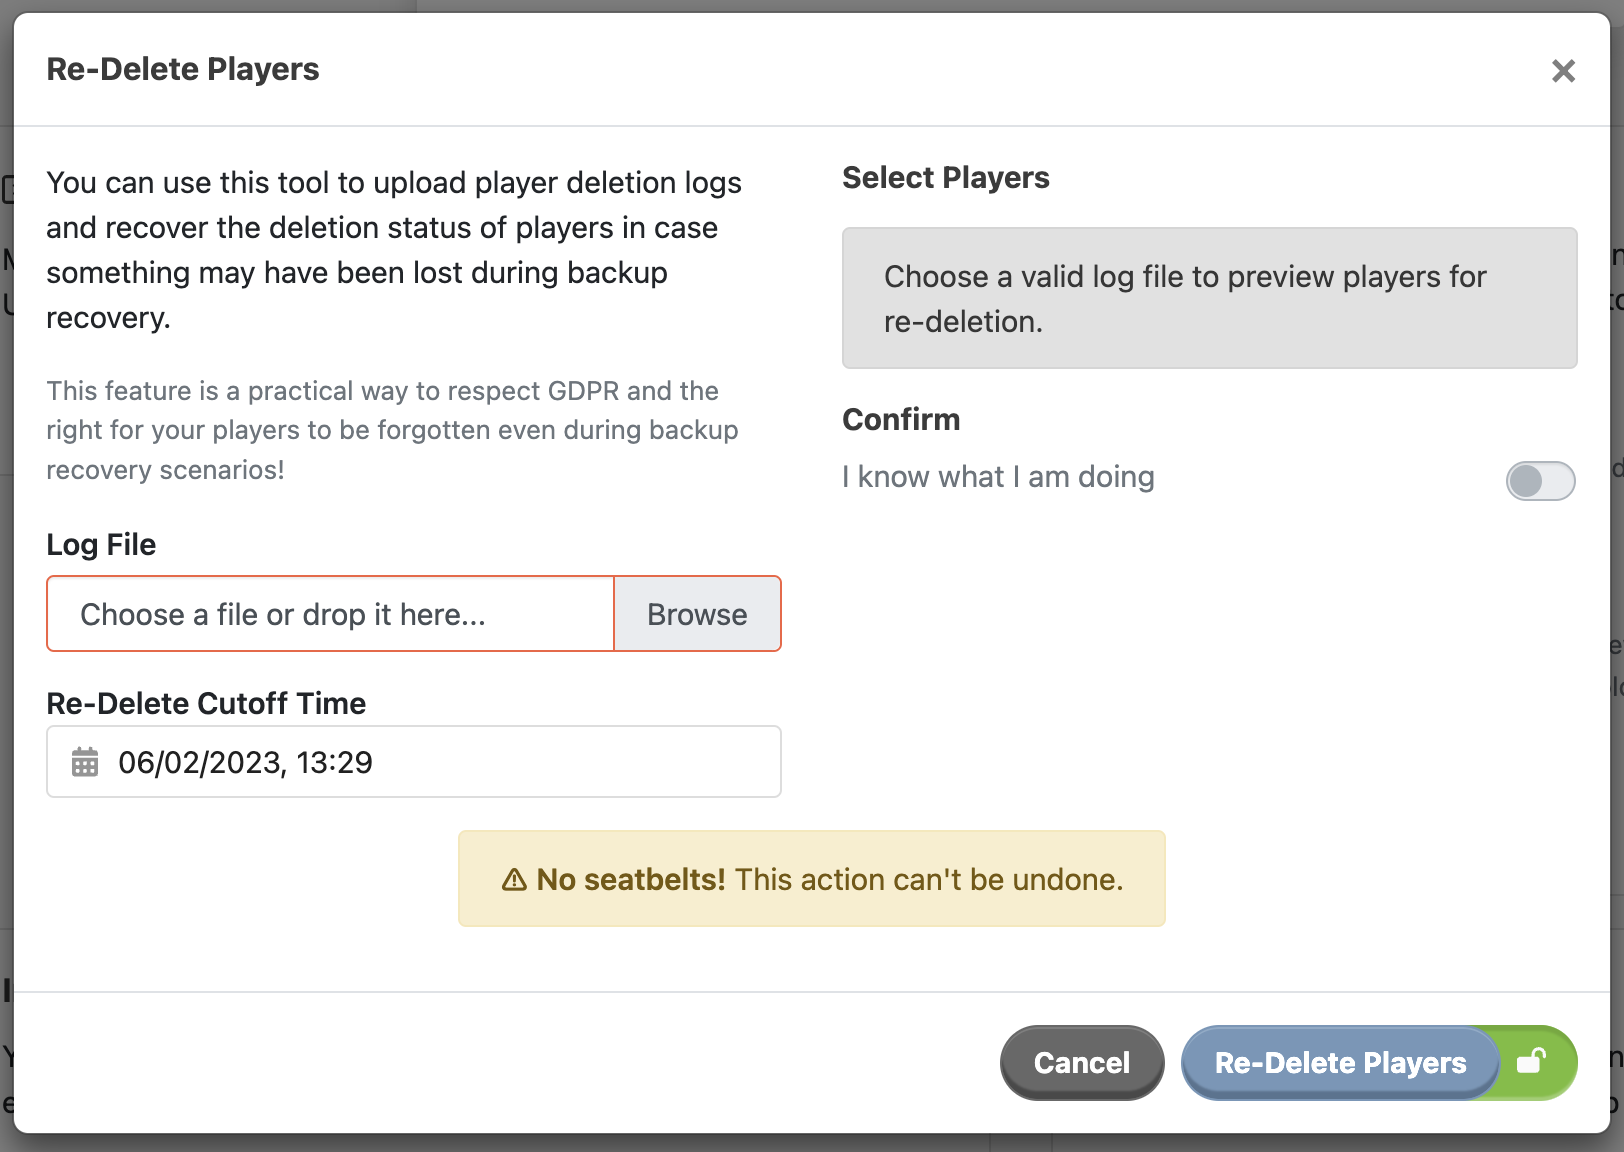
As you enter these configuration details, the server will start to process them and the results will be shown on the right-hand side of the menu.
DANGER
You need to be careful with the Cutoff Time field - remember that you need to set it to the date of the database snapshot that you are restoring from.
5. Review Player List
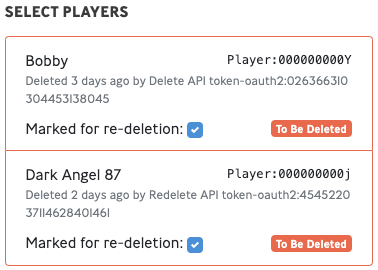
Once the server has processed the configuration that you entered (this should happen almost instantly) you will see a list of players. The generated list show players that were scheduled to be deleted after the database snapshot was taken.
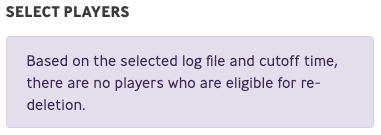
If, instead of a list of players, you see that there are not players who are eligible for re-deletion - double check that you have the correct cutoff time set. If, after checking that it is correctly set to the time of your database snapshot, you still have no players listed then it means that no players were scheduled for deletion since your database snapshot was taken. That's great news for you because it means that you have no players who need re-deleting and you can skip the rest of this process.
6. Review the Player List
The player list shows all players that the server has determined to need re-deleting by this process. It is almost certain that you will want to leave this list as is - with all players selected.
So why do we make it possible to de-select players? Imagine the nightmare scenario - one of your CS agents goes rogue and deletes players. You catch it quickly, but the damage is so bad that your only recourse is to rollback to an earlier database snapshot to restore those players, but you'll also need to re-delete any legitimately deleted players - how do you tell which are which? That's why we let you review this list and also why we include the ID of the CS agent who scheduled the player for deletion.
7. Active
Once you're sure that everything is in order, it's time to activate the feature - toggle the "I know what I am doing" switch and then press the "Re-Delete Players" button.

8. What Happens Now?
Once you've set off the process, things start happening on the server:
- Firstly, the server will mark all of those players for deletion. This will take very little time to complete. You'll be able to verify the success of this step by looking at the detail page of any one of these players - you'll see the big red "Scheduled For Deletion" banner at the top of their page.
- Next, the server will kick off the process that actually deletes players whose scheduled deletion time has passed. This process will take a little longer, usually in the order of tens of minutes for extremely large player databases.
