
Appearance
LiveOps Dashboard Testing
This page describes how to make and run all types of LiveOps Dashboard tests.
This page describes how to make and run all types of LiveOps Dashboard tests.
The LiveOps Dashboard is composed of many moving parts, from full page views to individual UI components and JavaScript utility functions. Over time, these parts change due to new features, bug fixes, or routine maintenance that comes with modern web development. Whenever changes are made to one part of the dashboard, we need to have a high level of confidence that there are no unexpected or unintended changes to the other parts. This is why we generally recommend always running the full test suite instead of just the tests for the feature you're working on.
We use multiple tools to test the dashboard project:
You will mostly be working with Playwright tests when adding coverage for your custom features, but it is important to know how to run the other tools as well.
You can extend and customize these tools to fit your needs, but we recommend starting with the default configuration.
All of the commands below should be run from your game-specific Dashboard directory.
Pro tip
All the dashboard tests are automatically run by metaplay test integration, so running them manually is mostly useful for local development purposes.
ESLint, TypeScript, and Vitest all run automatically either during normal development or by the dashboard build command to raise any issues with them as quickly as possible.
If you'd like to run any of the source code tests individually, you can do so with the following commands:
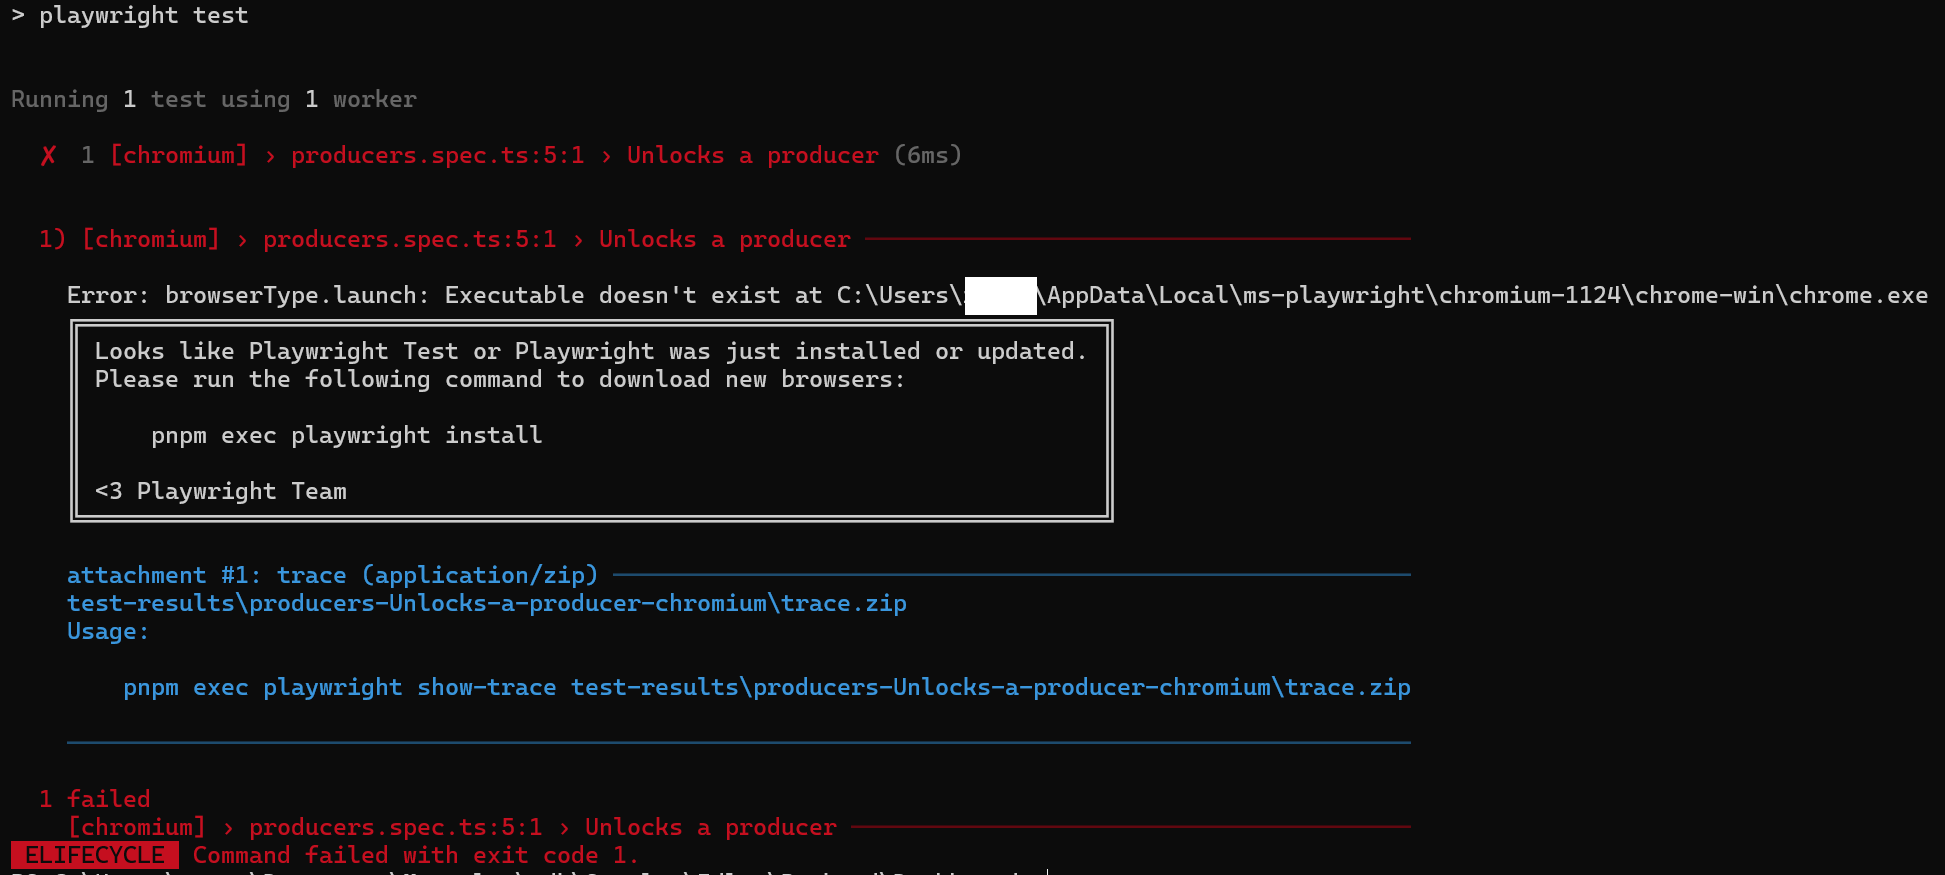
pnpm lintpnpm build (the build command first runs the TypeScript compiler)pnpm test-unitPlaywright spawns a headless browser to interact with the dashboard as a user would, so it needs a running game server and a dashboard to connect to. You also need to install the Playwright browsers before running the tests.
To run the test for the first time:
Dashboard directory.pnpm exec playwright install. This will install the correct versions of the browsers based on your project configs.pnpm backend.pnpm dev.pnpm test-e2e.A common error is to forget to install the browsers before running the tests. If you see errors like the ones below, make sure you have installed the browsers first.
Here's an overview of where all the different types of tests live in the dashboard project:
Dashboard                    LiveOps Dashboard project folder
├── tests                    Your tests live here
│   ├── e2e                  Game-specific Playwright tests
│   └── unit                 Game-specific Vitest tests
├── test-results             Playwright test results
│   └── [contextual folder]  Playwright generated folder
│       └── trace.zip        Trace viewer files for tests
├── .eslintrc.cjs            ESLint configuration
├── playwright.config.ts     Playwright configuration
└── tsconfig.app.ts          TypeScript configuration for the web app
In addition, the SDK has relevant shared modules in the MetaplaySDK/Frontend folder:
MetaplaySDK/Frontend
├── DashboardPlaywrightTests  Built-in Playwright tests
├── ESLintConfig              Shared ESLint configuration
├── MetaUiNext                Meta UI components and Storybook
├── PlaywrightConfig          Shared Playwright configuration
└── ...                       Other modules
When developing custom features for your dashboard, you will likely want to cover them with functional tests using the Playwright framework, so let's start from there and then move on to less common test types and advanced configuration.
Playwright is a powerful tool for testing web applications that allows you to automate interactions with your UI in a way that is very similar to how a user would interact with it. This makes it a great tool for testing the LiveOps Dashboard, as it allows you to test the entire application from the user's perspective.
We have created a set of default configurations, actions, and fixtures that make it easy to write Playwright tests for the dashboard. In addition, we have included a sample test file that you can use as a starting point for your own tests. It looks like this:
// Import from '@metaplay/playwright-config' instead of '@playwright/test'
import { test, expect } from '@metaplay/playwright-config'

// Use the freshTestPlayer fixture to create a new test player for each test.
test('trivial example', async ({ page, freshTestPlayer }) => {
  // Navigate to a page.
  await page.goto(`/players/${freshTestPlayer}`)
  // Assert that the player overview card is visible.
  await expect(page.getByTestId('player-overview-card')).toBeVisible()
})
This test navigates to the player page for a fresh test player and checks that the player overview card is visible by querying the data-testid attribute of the element. This is a simple example, but it demonstrates the basic structure of a Playwright test for the LiveOps Dashboard.
To create your own Playwright tests, you simply add more testName.spec.ts files to the tests/e2e folder and run them with the pnpm test-e2e command.
We have made two helper actions that you can use in your tests:
clickMButton - A helper function for MButton that first disables the safety lock if it is on, then clicks the button.activeLinkExistsForCurrentPage - A helper function to check if the sidebar link is rendered, not disabled, and active on the current page.You can import these actions from the @metaplay/playwright-config package, like this:
import { test, clickMButton, activeLinkExistsForCurrentPage } from '@metaplay/playwright-config'

test('actions example', async ({ page, baseURL }) => {
  await clickMButton(page.getByTestId('my-button'))
  await activeLinkExistsForCurrentPage(page, baseURL)
})We have also created a set of fixtures that you can use in your tests:
freshTestPlayer - A fixture that creates a new test player ID for each test. This avoids parallel tests mutating the same player.featureFlags - A fixture that provides the feature flags for the current environment. This allows you to conditionally skip tests based on the environment.dashboardOptions - A fixture that fetches the dashboard's runtime options for this environment.We will dive deeper into the fixtures and their intended use in the Advanced Playwright Dashboard Testing page.
We have extensive coverage for the built-in dashboard features. You may want to run our core tests if you have made changes to any of the SDK files or want to check for unexpected regressions.
You can run our tests by navigating to the MetaplaySDK/Frontend/DashboardPlaywrightTests folder and running the pnpm test command.
Vitest is a modern test runner for Vue 3 applications. We use it to run unit tests for the LiveOps Dashboard, and it requires no configuration to get started.
import { describe, it } from 'vitest'

describe('trivial example', () => {
  it('passes', async ({ expect }) => {
    expect(123).to.not.equal(456)
  })
})
Simply add your unit tests to the tests/unit folder in your game-specific dashboard project and run them with the pnpm test-unit command. You can also run the tests in Visual Studio Code with the Vitest extension.
ESLint is a tool for linting and formatting code. We use it to enforce code quality and consistency in the LiveOps Dashboard project. The ESLint configuration is located in the .eslintrc.cjs file in the root of the dashboard project. The majority of the configuration is inherited from our shared ESLint configuration in the MetaplaySDK/Frontend/EslintConfig folder, but you can freely override any of the default rules in your .eslintrc.cjs file.
Our default rules are based on StandardJS and Vue's recommended rules with some additions to make them support TypeScript and other specific tools we have selected. You can find more information about the rules in the ESLint documentation.
TypeScript is a superset of JavaScript that adds static typing to the language. We use it to ensure code safety in the LiveOps Dashboard project. The TypeScript configuration is located in the tsconfig.app.ts file in the root of the dashboard project.
While you can freely override any of the default rules in your tsconfig.app.ts file, we recommend sticking to the default configuration as much as possible to ensure compatibility with the rest of the project. You can find more information about the rules in the TypeScript documentation.
Storybook is a tool for developing UI components in isolation. We use it to develop and test the UI components in the LiveOps Dashboard project. Our Storybook project is located in the shared MetaplaySDK/Frontend/MetaUiNext folder together with the components themselves. You can run it locally with the pnpm storybook command or access a pre-built version online.
While we have not pre-configured Storybook for the game-specific dashboard project to avoid extra complexity, you can easily set it up yourself by following the official steps in the Storybook documentation.
Automated testing for the web can be a deep and complex topic due to the async nature of web requests that can easily lead to flaky or constantly changing tests. We recommend reading the advanced sections of the Playwright documentation for a deeper understanding of the tools available to you.
We have also compiled some of our best practices and tips for writing Playwright tests on the Advanced Playwright Dashboard Testing page.