Appearance
Configuring the LiveOps Dashboard
This page provides an overview of how to configure the LiveOps Dashboard.
Appearance
This page provides an overview of how to configure the LiveOps Dashboard.
Configuring the LiveOps Dashboard is a great way to make it look and feel like your own. The Metaplay SDK ships with sensible defaults, but we recommend that you take the time to customize the dashboard to better suit your game-specific needs. Depending on the scope of your customization, there are multiple ways for you to configure the LiveOps Dashboard to suit your game.
Metaplay's runtime options system provides a flexible way to configure the game server and LiveOps Dashboard for different environments. You can easily extend or override the default options as well as specify distinct values for different runtime environments. For example, use fine-grained, role-based authentication when working with the dashboard in the production environment but disable it when you are developing and testing the dashboard locally. You can specify the runtime options in the following ways:
Configuring the game server allows you to add or remove optional game-specific or environment-specific features in both the game server and the LiveOps Dashboard. For example, using feature flags, you can enable or disable optional SDK features such as guilds or the async matchmaker.
Pro tip!
If what you're actually looking for is how to create custom components or add custom content to the dashboard, Customizing the LiveOps Dashboard Frontend has the information you need.
The Metaplay SDK has a built-in authentication and authorization system that provides secure access to the LiveOps Dashboard and HTTP API. In addition, we support integration with third-party identity providers, allowing you to manage identity and access from your chosen identity provider centrally. By default, authentication is disabled when running the LiveOps Dashboard locally, and all users are assigned a default role, allowing you to access and test the dashboard. However, when you deploy the dashboard to a cloud or production environment, all users will be required to authenticate and have an assigned role before they can access the dashboard.
To learn more about how Metaplay's user authentication and authorization works with the LiveOps Dashboard and how to adopt this in your project, check out the Dashboard User Authentication page.
We designed Metaplay's roles and permissions system to help you manage and protect access to the LiveOps Dashboard. User admins can set up unique roles for the different user groups within the system, tailoring their views and actions to only those pertinent to their given role. For example, external customer support agents can have limited access to features and actions on the dashboard.
Every user needs to be assigned a role to access the LiveOps Dashboard. You can also assign multiple roles to a user, giving them the combined set of permissions granted by those roles. Metaplay's SDK ships with predefined roles that are easy to use and customize. See the Dashboard User Authentication page for more details. You can also create custom user roles tailored to your exact needs.
Sometimes you might want to create a group of users with a specific set of permissions - maybe you've employed some junior CS agents, and you don't want to let them loose with sending emails to players yet. You can create a new user role as follows:
Navigate to the Backend/Server/Config/ folder and open the Options.base.yaml file in your favorite code editor.
Find the Roles sub-section in the Authentication section and specify your game-specific role as follows:
  ## Authentication

  Authentication:
    Roles:
      # Choose which built-in roles to enable for the game.
      # You'll always need to enable at least game-admin here.
      - game-admin
      - game-viewer
      - customer-support-senior
      - customer-support-agent
      # Specify a game-specific example role
      - my-custom-role
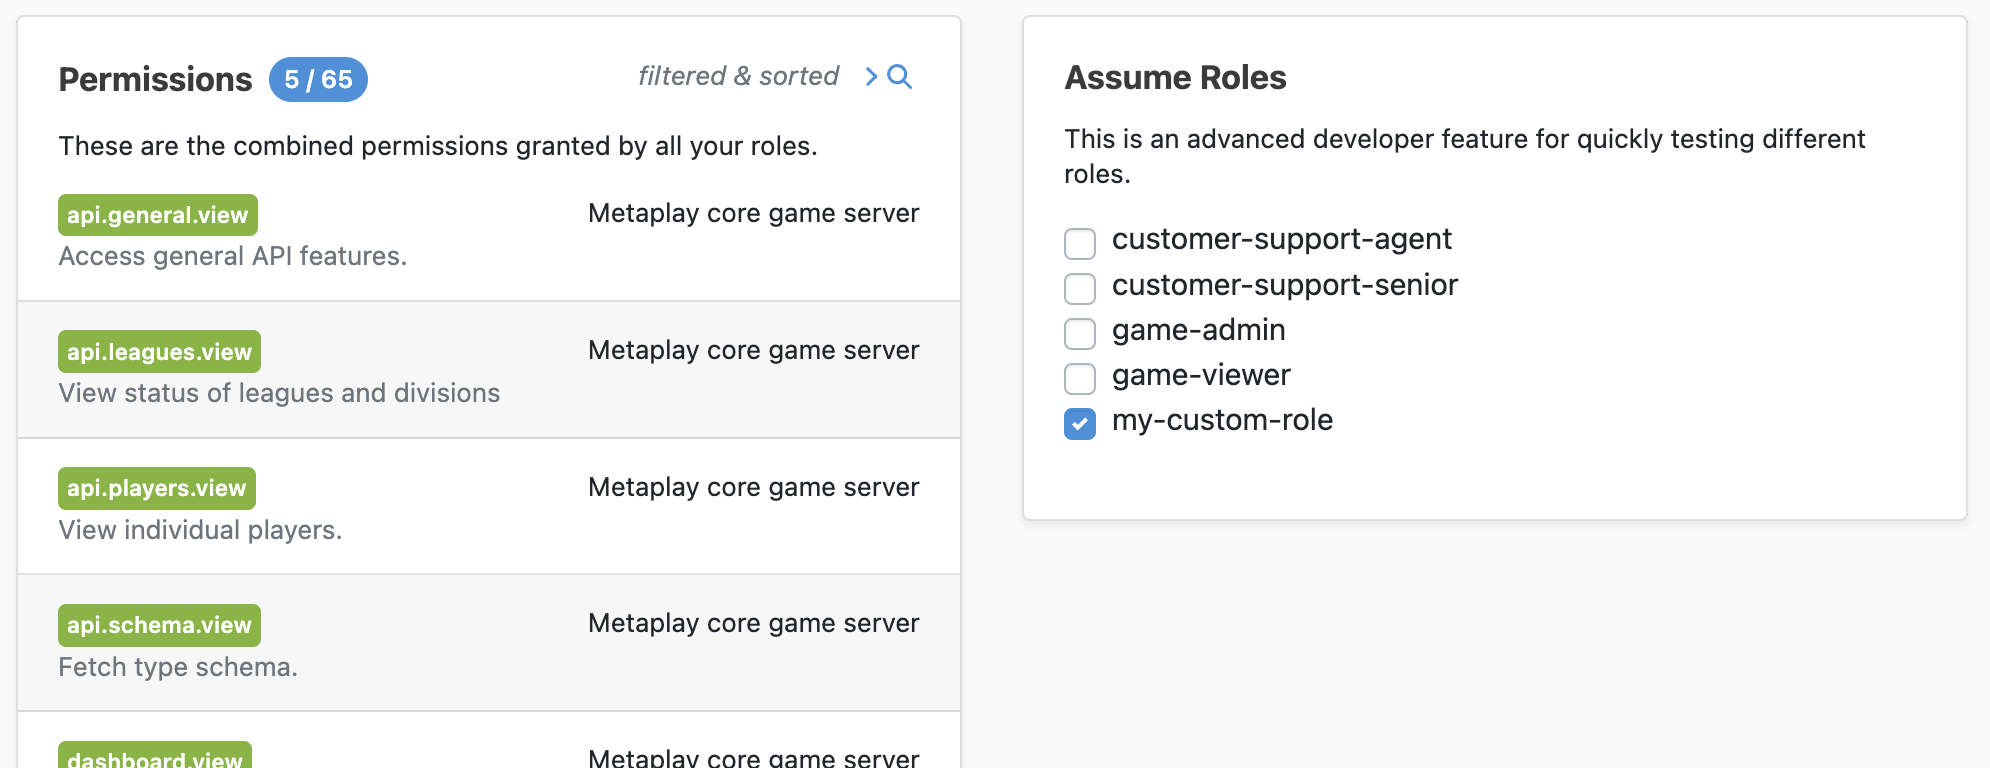
Once you have defined the role, you will need to configure which permissions it has. For example, to allow the new my-custom-role to view a player, you should navigate to the Permissions sub-section in the same file and add the role the needed permission as follows:
  ## Authentication

  Authentication:
    Permissions:
      # Metaplay core permissions
      api.players.view: [ game-admin, game-viewer, customer-support-senior, customer-support-agent, my-custom-role ]
That's it! Using the 'Assume Roles' feature, you can test that your role permissions are correctly configured.

You can now assign this role to your users using your preferred identity provider. Please refer to the Dashboard User Authentication page for more details on how to assign a role to a user.
Pro tip
Permissions provide access to individual actions and features on the LiveOps Dashboard. When developing new features, we recommend that you protect them using permissions. You can find an example of how to create a custom feature and how to add custom permissions on the Working with the LiveOps Dashboard HTTP API page.
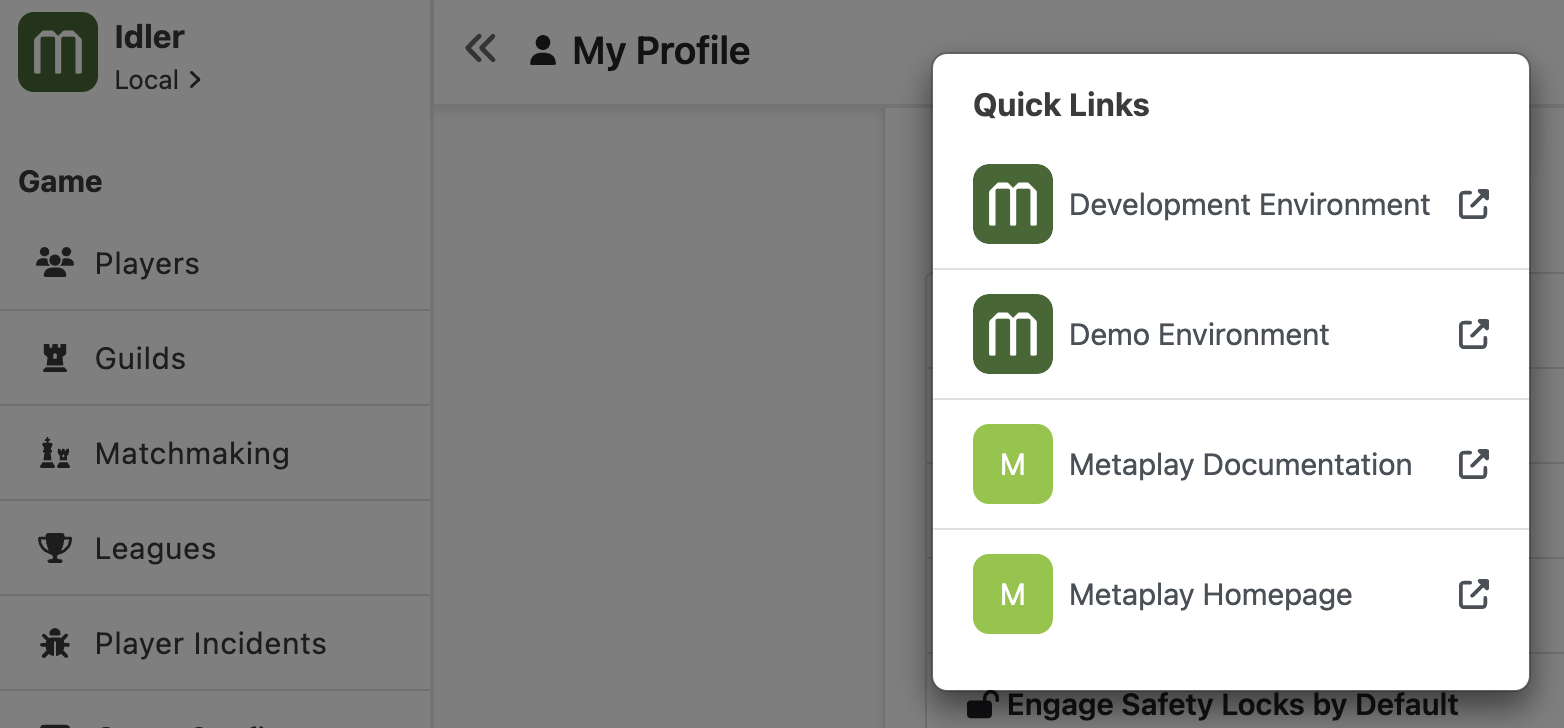
The quick links feature provides a fast and convenient way to access frequently used resources. For example, you can use this feature to switch between different game environments or quickly reference Metaplay's documentation. You can find the quick links on the dashboard's side header.

You can set up custom quick links in the Environment section in the game server's runtime options. For example, we could add this to the Options.base.yaml file:
Environment:
  QuickLinks:
    - Title: Development Environment
      Uri: http://localhost:5551
      Icon: "@game-icon"
    - Title: Metaplay Homepage
      Uri: "https://metaplay.io/"
      Icon: "@game-icon"
    - Title: Metaplay Documentation
      Uri: https://docs.metaplay.io/
      Color: rgb(134, 199, 51)
The parameters needed are:
Title: The display name of the link on the dashboard.Uri: The web link to the external resource.Icon: Optional display icon for the link. Currently, this parameter only supports one value, @game-icon, which causes the game's icon to be shown next to the link.Color: If Icon is not specified, then the first letter of the Title can be displayed with a specified CSS background-color. You can provide any valid CSS color value, e.g., rgb(255,0,0) or a #f00.Pro tip
By default, the quick links feature is only available to a limited number of roles (e.g., Game-Admin and Customer Support Senior roles). If you want other roles to have access to quick links, you can configure the necessary permissions in your game server's base runtime options: Options.base.yaml.
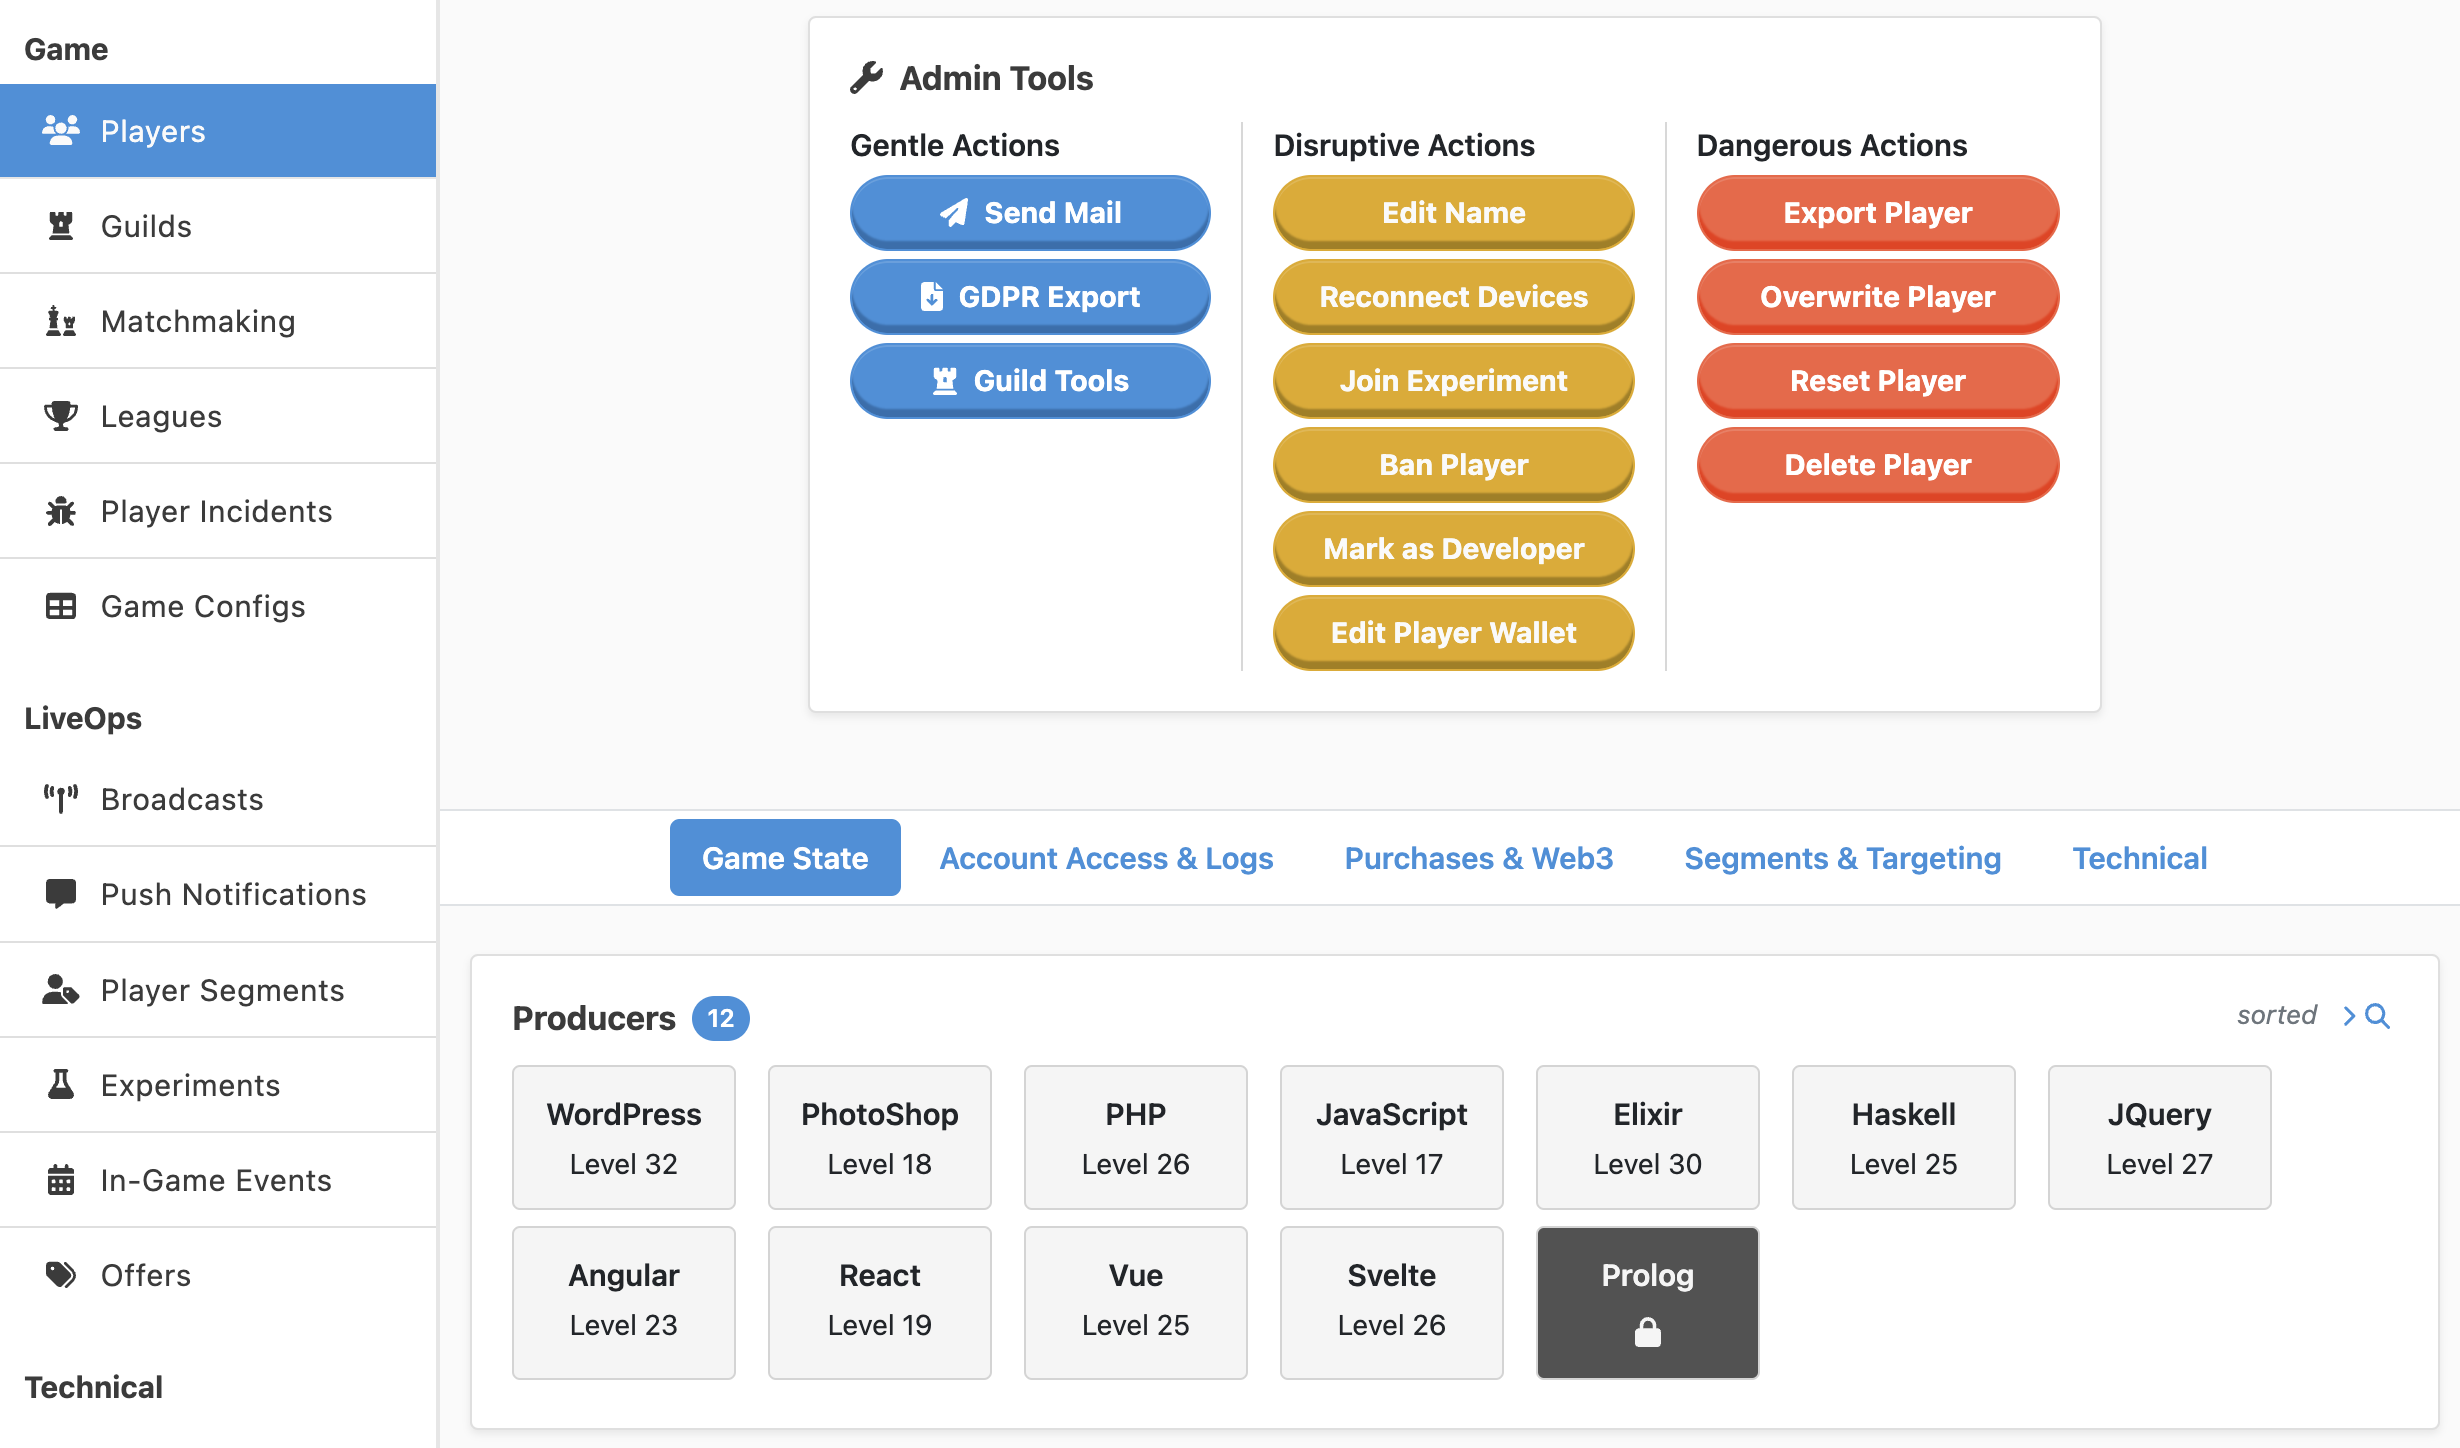
The Metaplay SDK ships with five customizable tabs on the player details page. Each tab has a default name and content to get you started, but you will likely want to reorganize the tabs as your game grows over time.

To rename the tabs, you can override the following runtime options:
LiveOpsDashboard:
  PlayerDetailsTab0DisplayName: "Custom Tab 0"
  PlayerDetailsTab1DisplayName: "Custom Tab 1"
  PlayerDetailsTab2DisplayName: "Custom Tab 2"
  PlayerDetailsTab3DisplayName: "Custom Tab 3"
  PlayerDetailsTab4DisplayName: "Custom Tab 4"
Each tab has its own UiPlacement that you can use to remove or add content to the individual tabs. For more information on adding custom components, have a look at the Customizing the LiveOps Dashboard Frontend page.
You can customize the color of the dashboard's header by overriding the LiveOpsDashboard.DashboardHeaderColorInHex runtime option. You should set a different color for each of your major environments, like production or staging, to easily tell them apart.
The header text color will automatically switch to white when the header color is dark enough to maintain good contrast and legibility.

LiveOpsDashboard:
DashboardHeaderColorInHex: "#3f6730"You can explore more advanced customizations on the Customizing the LiveOps Dashboard Frontend page.